Tutorials
The Ultimate Guide to Cricut Print Then Cut
Do you know how to Print Then Cut images in your Cricut machine? It is now simple to cut stickers, printables, and other types of pictures with it. To accomplish these tasks, you just need to know how to use the settings “Print Then Cut.”
Print Then Cut is an option under the “Operation” that enables you to print your design and then cut around them. When your materials or designs get on with the Print Then Cut, it will be sent to your home printer first by design space, and then it will cut.
However, after reading the article, you’ll get to know what types of images can be used, the specification of the machine, the cutting method, and what to do if you confront any difficulties with the Print Then Cut setting. So, stay with us and keep reading.
What is Cricut Print Then Cut?
Let’s start with the definition of Cricut Print Then Cut. Print Then Cut is an excellent feature in the Cricut design space, which is the easiest way to print out the graphic design then cut it out using your Cricut. This feature you will get on both Cricut Explore and Cricut Maker, making it an incredible way to use your cutting machines. To complete different types of craft projects, using Print Then Cut is a great option. We have listed below what things you can do with the setting.
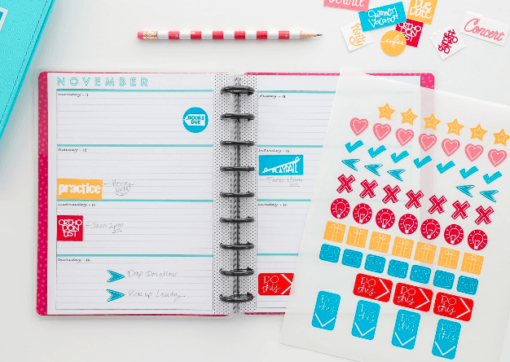
- Make your own planner sticker at home
- Turn Beaches Booze and Besties SVG into Print Then Cut
- Create gift tags and greetings cards on your own for family and friends
- It is possible to cut out pictures with graphic design regarding your scrapbook
- It is simple now to print designs on vinyl to include in your latest project.
How Simple It Is To Use Cricut Print Then Cut Feature
You may think that using the Print Then Cut feature is complex but actually not. You can simply use it and print your designs to cut them later. We have given step-by-step guidelines here to use the Cricut Print Then Feature option. Let’s have a look.
Step-1: Download Cricut Design Space software first and then install it on your computer.
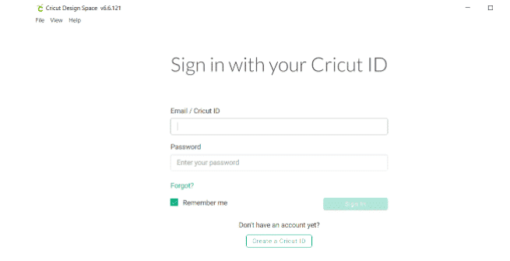
Step-2: Once the software is downloaded, run it and create an account to do your own projects.
Step-3: After that, press on the “Upload” option from the left side below and select the “Upload Image” option.
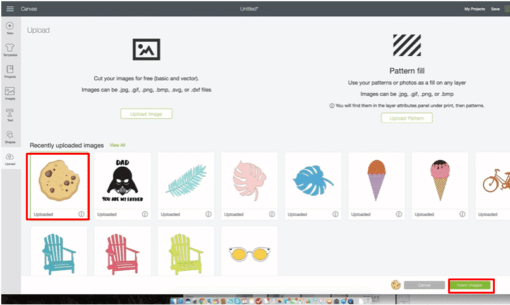
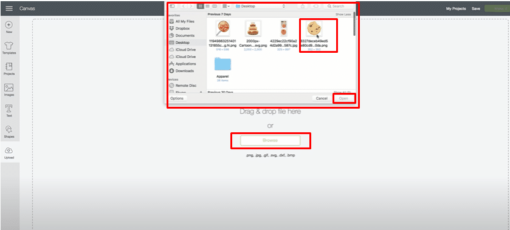
Step-4: To upload an image, press the “Browse” option or drag & drop files here.
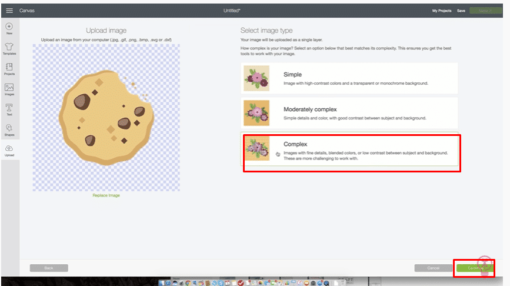
Step-5: Now, you’ll see the preview of the image with three different options. From there, select “Complex” and click the “Continue” option from the right-side corner.
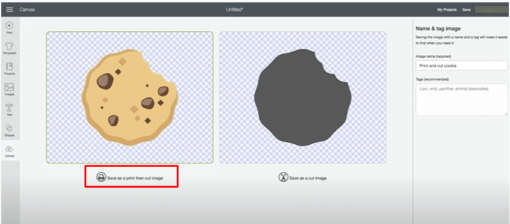
Step-6: From the new interface, click again on the “Continue” option from the below right-side. You’ll see two options, “Save as a Print then Cut Image” and “Save as a Cut Image. Choose “Save as a Print then Cut Image” and then tap on the “Save” option below.
Step-7: Now, under the “Recently Uploaded Image” option, select the image you have uploaded just now.” and press “Insert Image.”

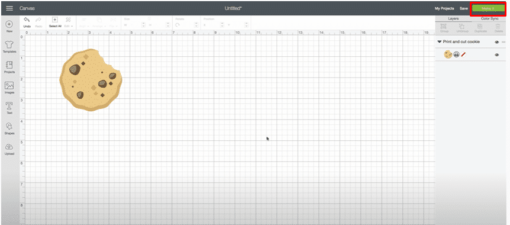
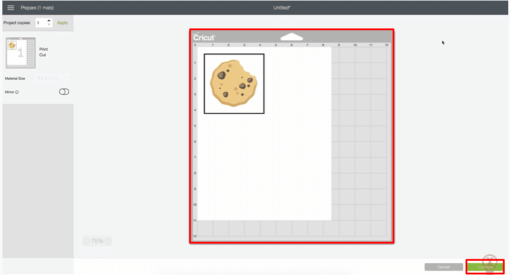
Step-8: Your uploaded image will appear in the canvas. Here you’ll see an option “Make It”. Click on it to continue.
Step-9: A black box will appear on the screen with the image you have uploaded. And press “Continue.”
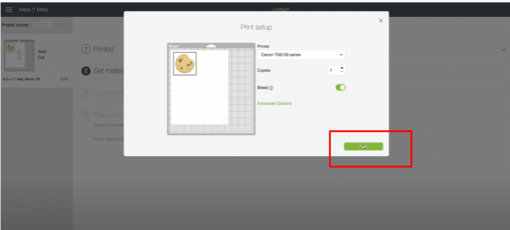
Step-10: Select “Send To Printer” and press the “Print” option. After that, wait a few seconds until it is printed.
Step-11: Once it is printed, align it in the top-left-hand corner of your mat, just like the image.
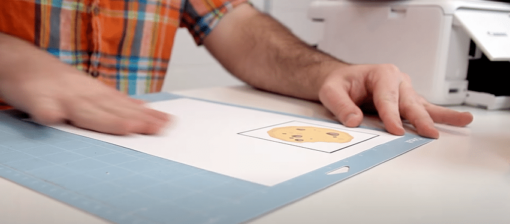
Step-12: Now, load it to your Cricut machine and follow the next step.
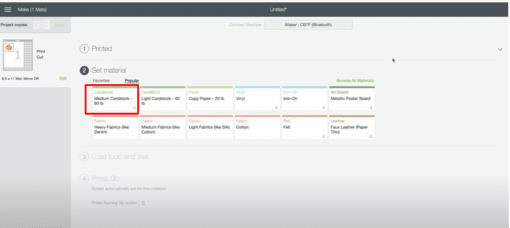
Step-13: Now, go to the Cricut Design Software and set material to “Medium Cardstock -80lb.”
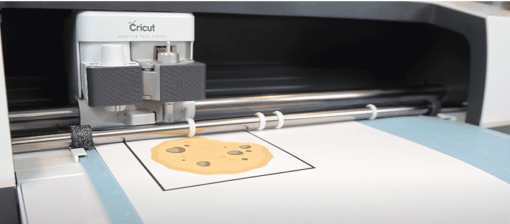
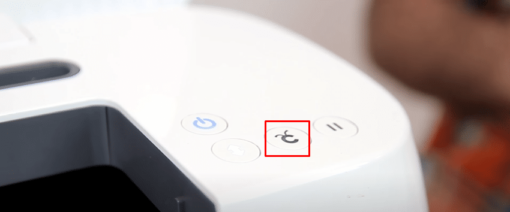
Step-14: Now, you are in the final step. Here press on the “Fast Mood” option, and then from the Cricut machine, tap on the “Flashing” button.
Step-15: When It is cut, just press the unload button. That’s all.

Cricut Machines That Work With Print Then Cut
All Cricut Machines don’t work with Print Then Cut. Here we have given a list of Cricut machines that work with Print Then Cut.
- Cricut Maker
- Cricut Maker 3
- Cricut Explore Air
- Cricut Explore One
- Cricut Explore Air 2
- Cricut Explore 3
Keep in mind that Print Then Cut is not supportable on Cricut Joy because it doesn’t hold a similar sensor as the larger machine.
Best Printers for Cricut Print Then Cut
One of the most common questions we are usually asked by many more users is what are the best printers for Print Then Cut. You can use several printers to use the setting, but we recommend the two best printers.
- HP Envy Pro 6455
- Canon Pixma TS9521C
1. HP Envy Pro 6455
It is one of the best choices for all Print Then Cut projects. The prominent feature of the HP printer is the Instant Ink Subscription. What is the noticeable part of the feature? Well, when your printer is linked to the internet and when it begins to run low ink, it forwards a message to HP, and you’ll get fresh cartridges in the mail as a subscription’s part.
2. Canon Pixma TS9521C
It is another excellent printer for Print Then Cut, which is also known as a crafter printer. Canon Pixma can print a full 12×12 inch size Cricut mat or scrapbook paper’s piece. That’s why it is suitable for all types of projects, but Print Then Cut holds a limited size; thus, you can’t take benefits of that entire area. Apart from that, this Canon Pixma printer can also print regular sheets.
Types of Images That You Can Cut With The Print Then Cut feature
It is possible to Print Then Cut any image you upload to design space or on Cricut Access. For instance, anything can be placed on the canvas area, where you design you can print and then cut. Moreover, text can also be printed and then cut that you type in the design space. However, In this segment, we have mentioned 3 different types of images that you can use with the Print Then Cut features.
Type-1: Solid Background’s Image
These images have a solid background and require extra effort as you have to isolate the image first that you want to cut. When the solid background images are uploaded, Cricut can’t recognize what the image is all about. It can only identify the edges of it. So, if you don’t intend to cut the entire thing and not something inside it, you have to remove the background. These images contain conclusive names or extensions, and you’ll be able to identify them when they are set in GIF, BMP, JPG. Look at the picture below to get a better idea.
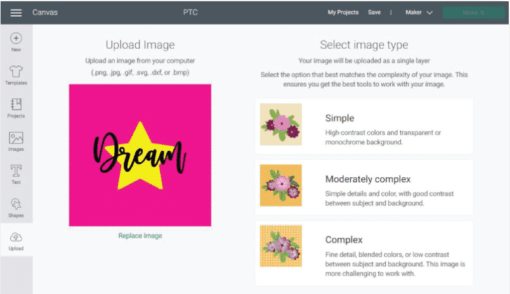
If you want to cut the words “Dream” and “Star” from the picture above, you must first remove the pink background. Or then, the entire design you can print and cut a square. The whole thing you can do in Design Space without confronting any difficulties.
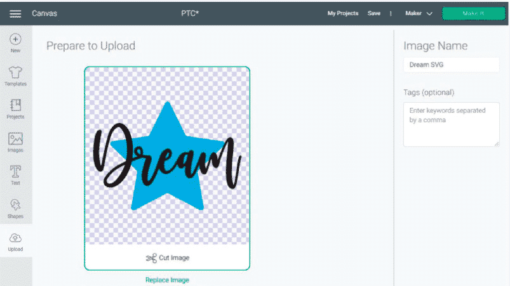
Type-2: Image With Transparent Background
These images are appropriate for the Print Then Cut features as the primary image, text, or element that you are supposed to cut is separated and placed on a transparent background.
Note: The quality of the images can be reduced and look blurred if you attempt to make them bigger.
However, you can identify them with ease when they end in png.
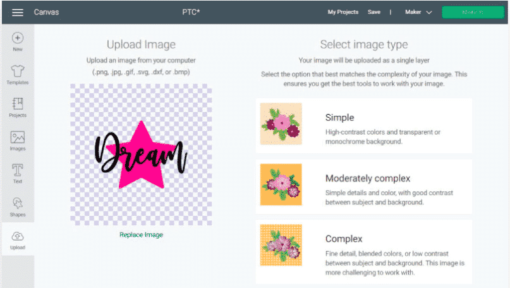
Look at the picture above; the little white and grey squares represent the transparent background. There is no background that you have to delete. So, if you attach the image as a Print Then Cut, the blade will get around the star and the dream.
Type-3: Vector Images
Vector images are contemplated as the best images that you can attach across Cricut Design Space. Another name for them is SVG or cut files. The best part of the SVG files is they can be resized without failing any quality. You can specify these images when they are set in.SVG or.DXF.
Look at the picture above; you don’t have the same option that you did with the types as mentioned earlier of files. With the SVG files, the blades know well where to move and where to cut precisely. You’ll be able to edit the word and the star individually with the vector files. You can even change color or other things that you might not be able to do with PNG or JPG files.
What To Do If The Print Then Cut Option Is Not Working
Sometimes, the Print Then Cut option might not work. If you get this problem, check the following steps that are recommended by Cricut.
- The sensor light is turned off.
- The edge of the printed image is not cut by your machine.
Final Verdict
So, this was the ultimate guide to the Cricut Print Then Cut option. Indeed, It is an incredible feature where the design you make will be printed out on your home printers initially, and the Cricut will cut out the design entirely. Using the features, you can easily make different types of cards and crafts. Here we have shown how to use it and what images you can use. Hopefully, following the context, you’ll be up to using the Print Then Cut option without any difficulties.